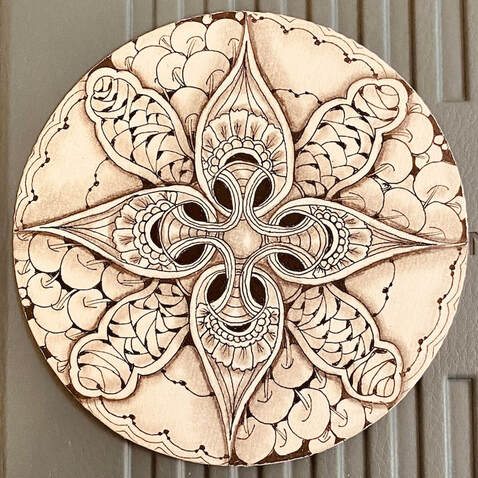
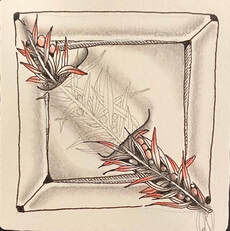
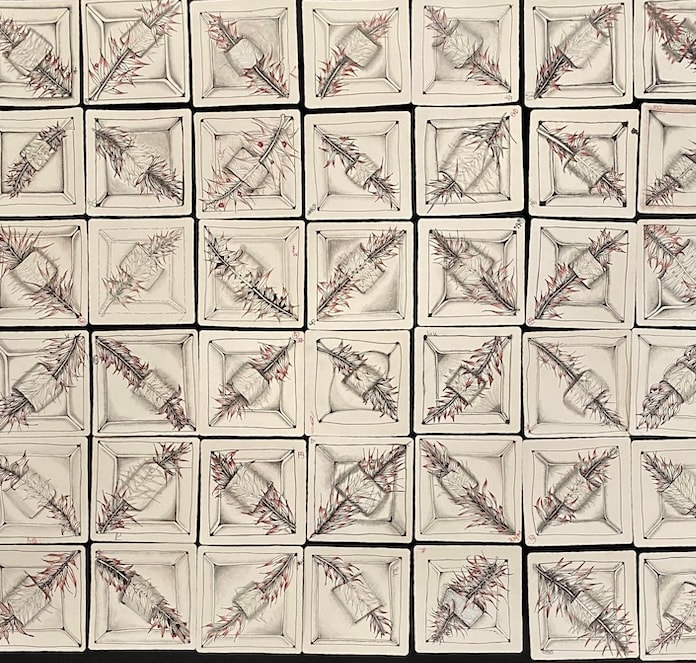
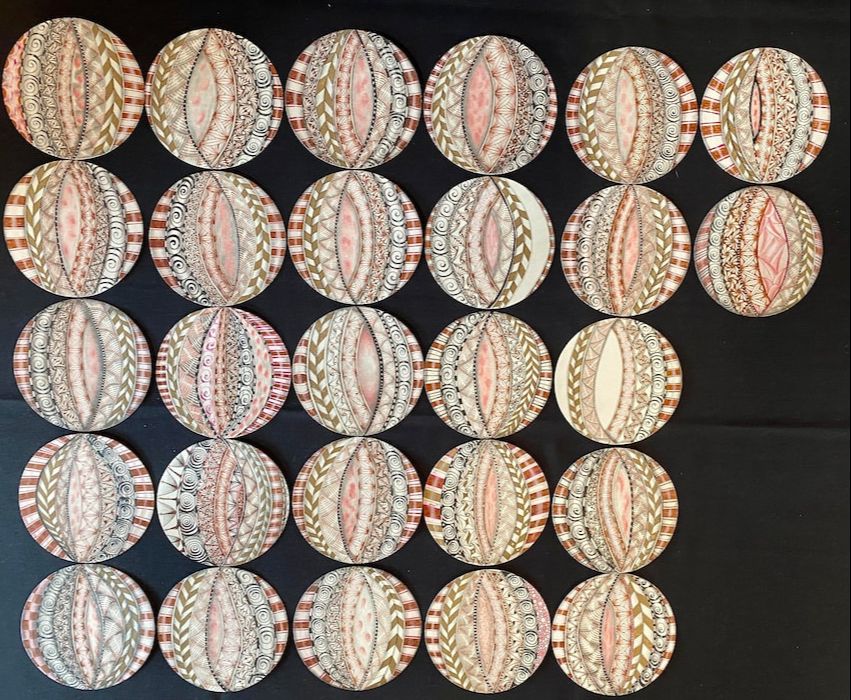
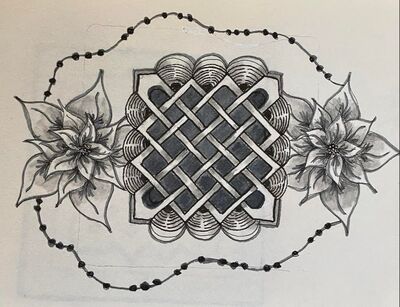
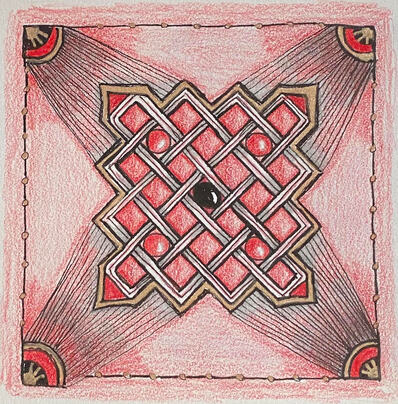
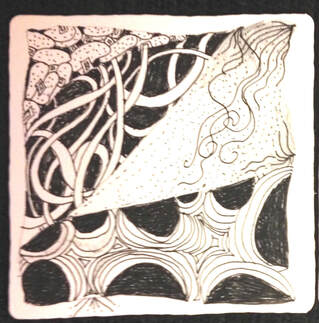
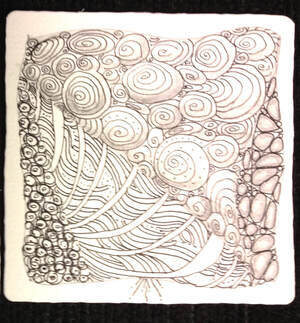
 My second try at Waybop, having practiced it quite a bit. Something about this looks quite Tibetan to me. Graphite & Micron 01 on a Zendala tile. Tangles are: Waybop, Crazy Betweed, Beadlines, Pokeroot, Moonpie. This was major fun to draw. 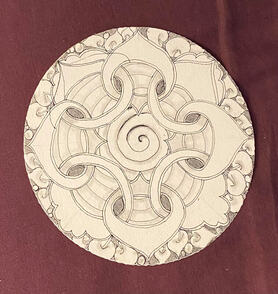 Well of course there are mistakes. We all make mistakes. I made some major mistakes in drawing this tangle, Waybop. I've drawn it before but not for a couple of years. I really screwed up the linework on this tile. But here's the thing: "There are no mistakes in Zentangle®." That's one of our axioms. Because just like in life, we have to deal with whatever's right in front of us and work with it, mistakes or not. So I didn't tear up this tile. I kept it overnight and decided to try coloring it. Here below is the result.  Main tangle here is Waybop. Weighted Printemps in the center, Pokeroot and Pokeleaf around the edges. Microns 01 and 08, graphite, General's Chalk Pencils in blue, white, and salmon. White gellyroll. Main tangle here is Waybop. Weighted Printemps in the center, Pokeroot and Pokeleaf around the edges. Microns 01 and 08, graphite, General's Chalk Pencils in blue, white, and salmon. White gellyroll. Glad I held onto it and decided to keep working on it. I've ended up really liking it a lot. I chose colors to match the oriental rugs in a friend's home. This entire process was an experiment. Could I produce this tangle from memory? No, I couldn't and the original linework was terrible. But...I could continue to work with it and end up with a good result. It required only patience and determination. Lesson learned. The workshop with Molly & Martha was designed to emphasize what's known as tangle "enhancers." This first one was the Tucker technique, where something appears to be almost hidden, tucked away under the paper. I was familiar with it but hadn't tried it much. If ever. This was fun to do. I think the grey pen section qualifies as another technique called "ghost tangles." Below you can see the class "mosaic" of tiles. Isn't it interesting how everyone draws their tangles differently, even with the same directions? Drawing is a lot like handwriting--the same, but very different. One of life's paradoxes. 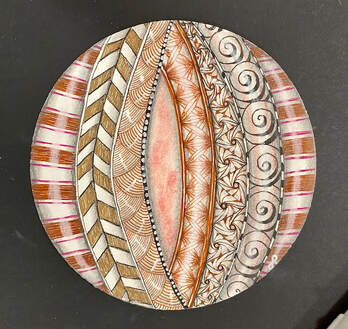 Next we did a mandala of border tangles using both brown and black Microns, graphite, and white and pink General's chalk pencils. We used ModPodge on top of the tile once it was done to seal it, but not over each of the borders, just some. Tangles included a portion of Marasu, Jonqal, Shattuck (with sparkles), Bales with enthatching), Well (with weighted lines), and weighted Printemps (there's a narrow beaded border thrown in there twice, plus dots). Lots of enhancers here! Again, here is the mosaic of tiles for the border mandala. So many differences, yet so much similarity.
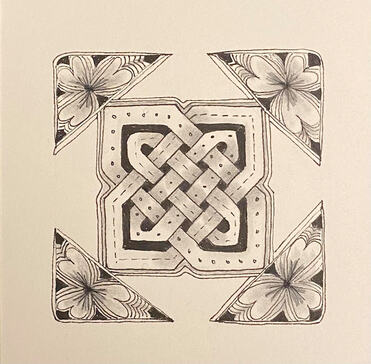
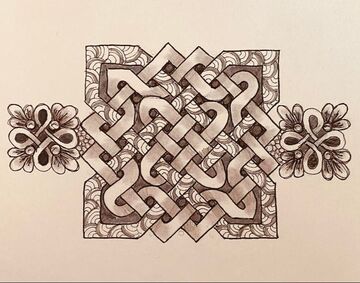
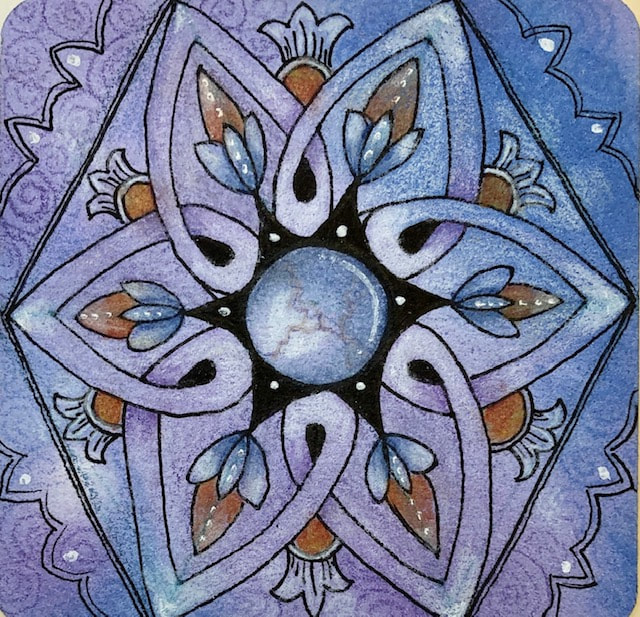
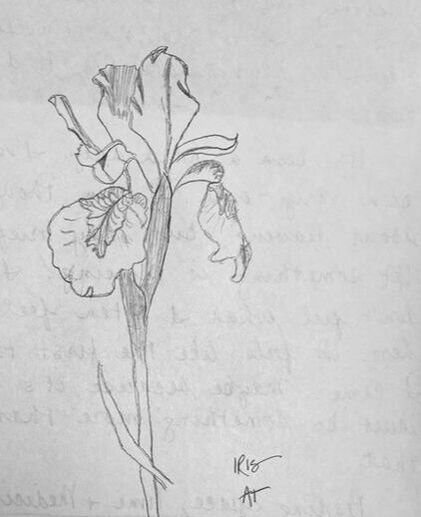 Mindful of the passage of time, I have begun the process of sorting and letting go of possessions. Trust me, this will take years and I don't know if I can offload enough so that what's left when I make my exit won't still burden those left behind (I'm hoping not to make an exit anytime soon but who knows). In recycling some old journals I found this ten-minute pencil sketch from 1983. It was fading away. I've always loved it and the memory it brought back, so I saved it and recycled the rest of the journal. I traced the graphite with a Micron 005 and here you have it. Then I decided to take it further and add some shading (below). Did I ruin it or enhance it? I'm not sure. I know I'm glad I thought to take a photo of the original before I did anything else. 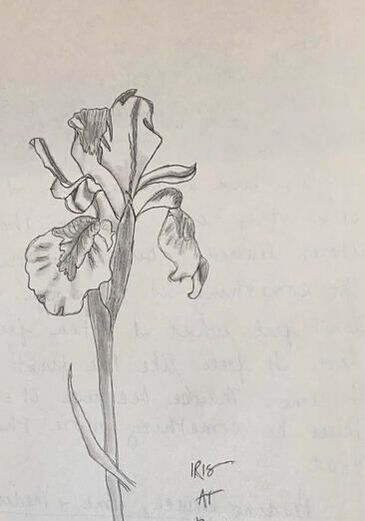 Iris, June 11, 1983 (graphite) and added to via a black Micron 005 and some shading, October 2023--forty years after I did the original drawing. Iris, June 11, 1983 (graphite) and added to via a black Micron 005 and some shading, October 2023--forty years after I did the original drawing. This was early on in my drawing career (not that I actually HAVE a drawing career). Probably shortly after I had read Betty Edwards' wonderful book, Drawing on the Right Side of the Brain. I remember exactly where I was when I drew this, even the time of day, and the scents and sounds around me. The iris was a rich, deep purple and was embedded in a fabulously beautiful late spring garden in New York State. It took ten minutes to draw and during that time my happiness increased a thousand percent. Such is the power of drawing. No matter how bad a drawing is, somehow it's always more powerful than a photo. For me, anyway. 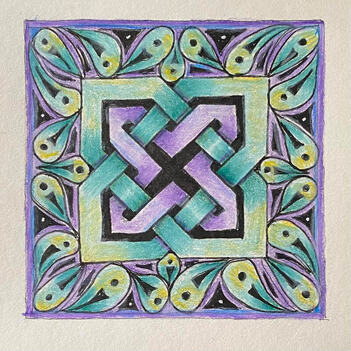 Celtic knot drawn with Micron 08 and Micron Graphic in black. Tangle drawn with Micron 01 in black. Prismacolors and a tiny bit of white Gellyroll as well. Drawn in my journal. Celtic knot drawn with Micron 08 and Micron Graphic in black. Tangle drawn with Micron 01 in black. Prismacolors and a tiny bit of white Gellyroll as well. Drawn in my journal. Great Jumpin' Jehosophat, would you believe it took me no less than SIX tries to get this knot done correctly? (I used a different, non-publishable word while catching all my errors and trying to figure it out, not the initial three words at the start of this paragraph. Use your imagination.) The tangle around the outside of the knot is called A'dalfa. It was new to me and I had fun with it. But the knot! OMG. I'm knot sure why it was so hard for me. Eleanor Roosevelt once said, “Learn from the mistakes of others. You can't live long enough to make them all yourself.” Um, Eleanor, I think I have news for you. 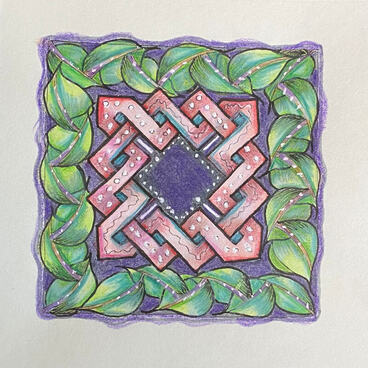 I like this version better. A friend prefers the version below. The mystery of how we see color and our differing color preferences is always intriguing. For this version, I took what I had below and used my Prismacolor pencils to enliven the colors. And also got a bit dotty. And added some graphite shading. And layered in more colored pencil. And, and, and... 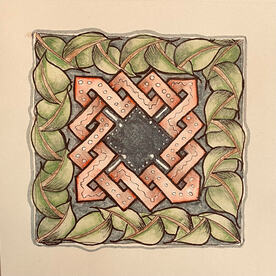 This is the version my friend prefers, and it's the the original. It's all done in watercolor. I like it. I just like the one above better. Microns 08 and 01 in black, watercolor pencils, graphite. Tangle around the edge is Foundabout, and I've used the Micron 01 to do some hatching as well. Let me just add that it took me SIX TRIES to get this knot right. Talk about brain exercise.
The knots are like wonderful puzzles--it's nearly impossible to think other thoughts while figuring them out. Very relaxing, as long as one adopts what the is often called "don't-know-mind" in Zen and other meditative traditions.
Another mix-and-match of the same knot from a day or so ago and the first two days of Inktober tangles. Hugely fun.
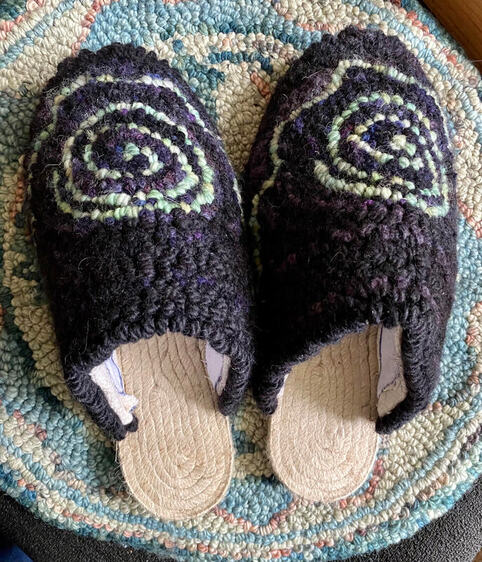
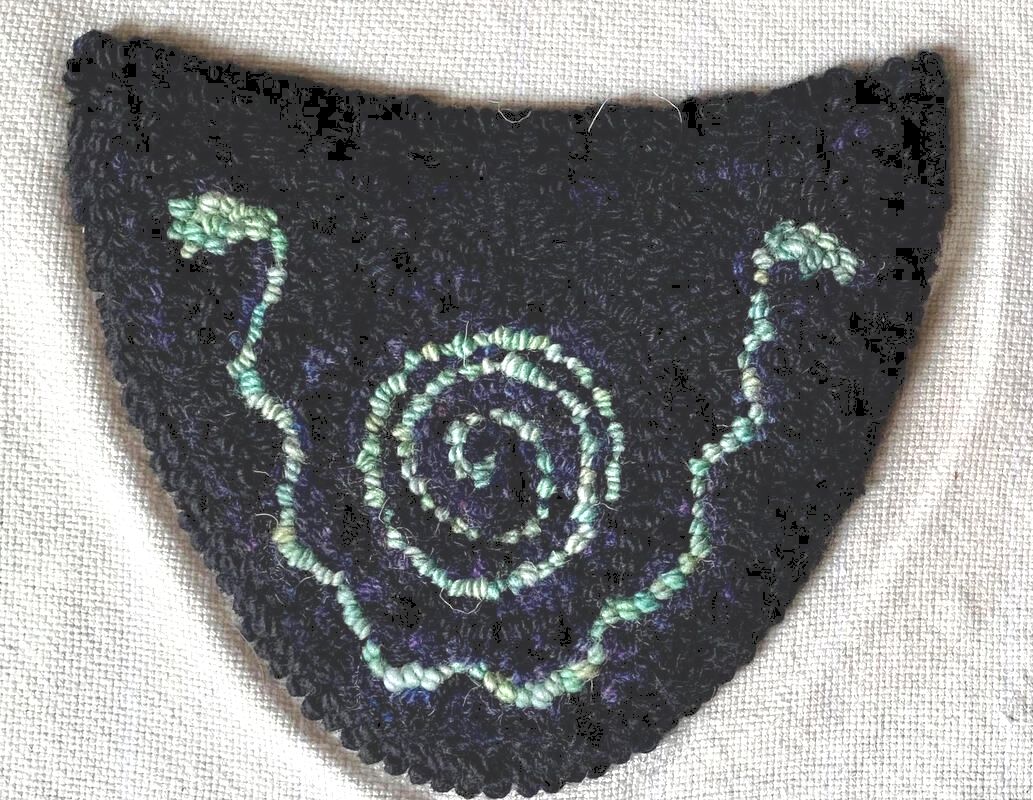
This should clear up the mystery I posted about yesterday. In yesterday's post you can see the punched upper part of one of these shoes before I sewed it to the sole, a task I did today. This was such a fun project. Of course, espadrilles are totally and completely flat--no arch support. And I need that. So although they fit I'll probably give them away. But I did it. It was a challenge, and I did it.
And yes, they are resting on a chair cushion I punched (and designed) about 20 years ago. Also done with rug wool and a #10 Oxford Punch Needle. This piece is experimental in so many ways. I won't say what it is yet. But I will say it's my first time using a #8 Oxford Punchneedle (normally I go with the #10), and I've enjoyed punching with it. The loops are so lush. The design is my own and I dyed the green yarn years and years ago; the other yarns are from Halcyon in Maine and from Judith Hotchkiss in Maine.
The big question: will this project actually come together and succeed? I will have to wait and see. If it does work out, I'll be incredibly chuffed and you can be sure you'll see the end result here. Hopefully soon. No symptoms and 2 negative Covid tests, 48 hours apart, after an exposure last Saturday. A perfect example of an occasion when negative - good news. (As it often does with medical data) Hurrah! I celebrated by combining a Celtic Knot with Zentangle® again: Just for now, I'm enjoying combining tangling with knots so you may be seeing a lot of these.
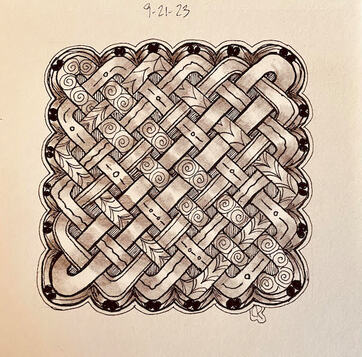 Black Microns 01 and 08, graphite. Tangle is Printemps and the rest is just random lines. Black Microns 01 and 08, graphite. Tangle is Printemps and the rest is just random lines. Or maybe this should be titled just plain, "Mixed Up." ?? Hah. I had fun combining a knot with a bunch of tangles and random line-work. 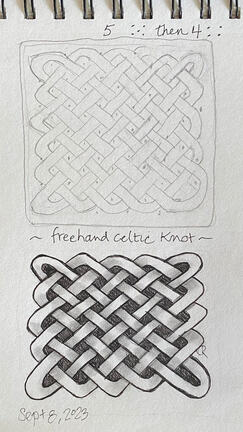 Journal page, Micron 01 in black and graphite. Journal page, Micron 01 in black and graphite. A couple of years ago I really got into drawing Celtic knots because drawing them has such meditative properties. I discovered it's nearly impossible to think while drawing them (not thinking is inevitably very relaxing). Eventually I forgot about about doing this and time passed. There's now some type of challenge going 'round on the internet related to drawing them. I saw a couple of "prompts"--suggestions for how to start, but I couldn't understand them. So I tracked down their author and ended up taking a short e-course with her. So glad I did! This is my first attempt at what was a very different approach to drawing the knots than I'd ever heard before. Just as meditative, but entirely different. I am very interested in learning more. She uses a stencil to create a grid, but I didn't have that so I just free-handed the grid and set about sketching. In the top part of the picture you can see my initial attempt, which didn't work. I set out to begin again (same language as meditation: "begin again"), and ended up producing what's on the bottom of the photo. While hardly a masterpiece, I am happy with it and plan to do more practice. Sure enough, it was equally impossible to think while doing this, and incredibly satisfying. If you want to try it yourself, go HERE and check out her courses. This is a partial shot of my current punch needle embroidery project. No, it is not for Halloween. All shall be revealed eventually.
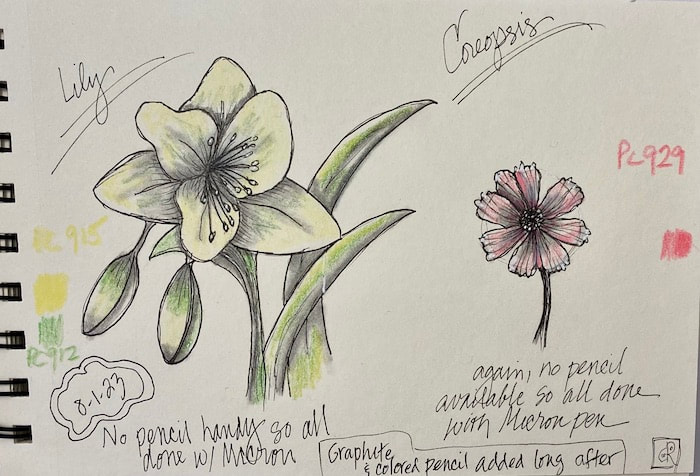
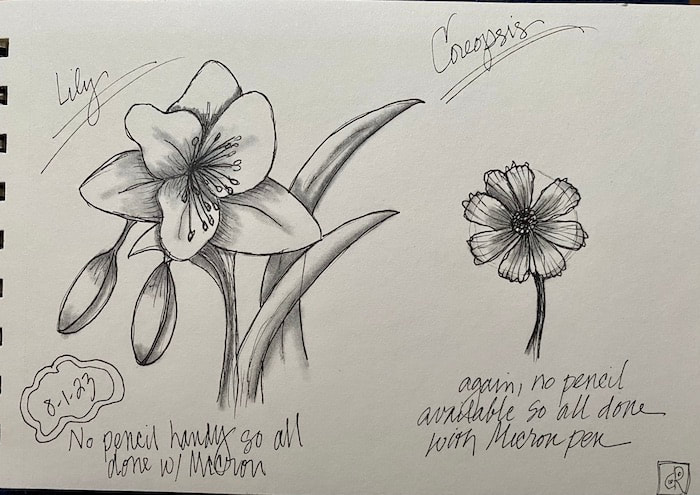
It's a very "fiddly" and challenging project but I think the fiddly & challenging stuff is done and now it's all just fill-in-the-background. Smooth sailing from here on in. Except: I hope I don't live to eat those words. Hmmm. You know how that goes--you're thinking, "Ok, it'll all be easy from here!" And the next think you know...Murphy's Law: "You can never run out of things that can go wrong." Oh wait, I think I'm scaring myself! <chuckle> 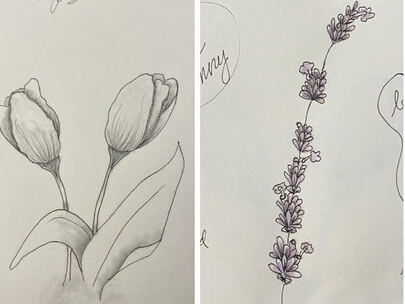 On the left, contour drawing of tulips, just Micron 01 and graphite. On the right, Lavender, with watercolor pencil & water added to Micron 01. On the left, contour drawing of tulips, just Micron 01 and graphite. On the right, Lavender, with watercolor pencil & water added to Micron 01. From today's journal. My notes on the right were cut off but they are telling myself, "Leave more room for the stem between the lavender flowers." More practice needed. 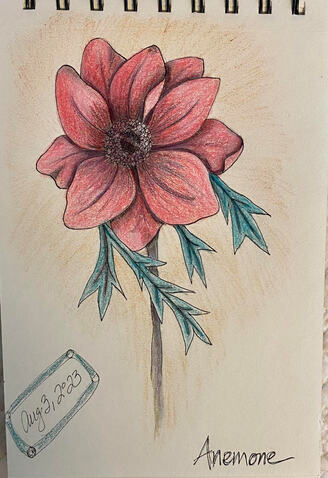 Micron 01 in black, graphite, colored pencil. Micron 01 in black, graphite, colored pencil. Another photo from my sketchbook this morning. This one really made me chuckle--is it an anemone or a padula? Never heard of a padula? A padula is a made-up flower. In other words, not a particular specific, identifiable flower. It's the type of flower kids often draw, not an accurate rendering. We use the term in rug hooking to describe those colorful fantasy flowers you often see in old rugs. It may also be a term used in other arts, but I've never heard of it anywhere else. This is supposed to be an anemone, but I'm not too certain about how accurate it is. Doesn't matter to me. Drawing it was fun and meditative. That's all I care about. I'm a bit too busy to do much besides sketch this week (and probably ditto next week) so it will be a few days of hurried contour drawing. i haven't had time to research what these flowers actually look like--this was done from a video by Kelly Barone (Whimsy by Kelly), a botanical artist.
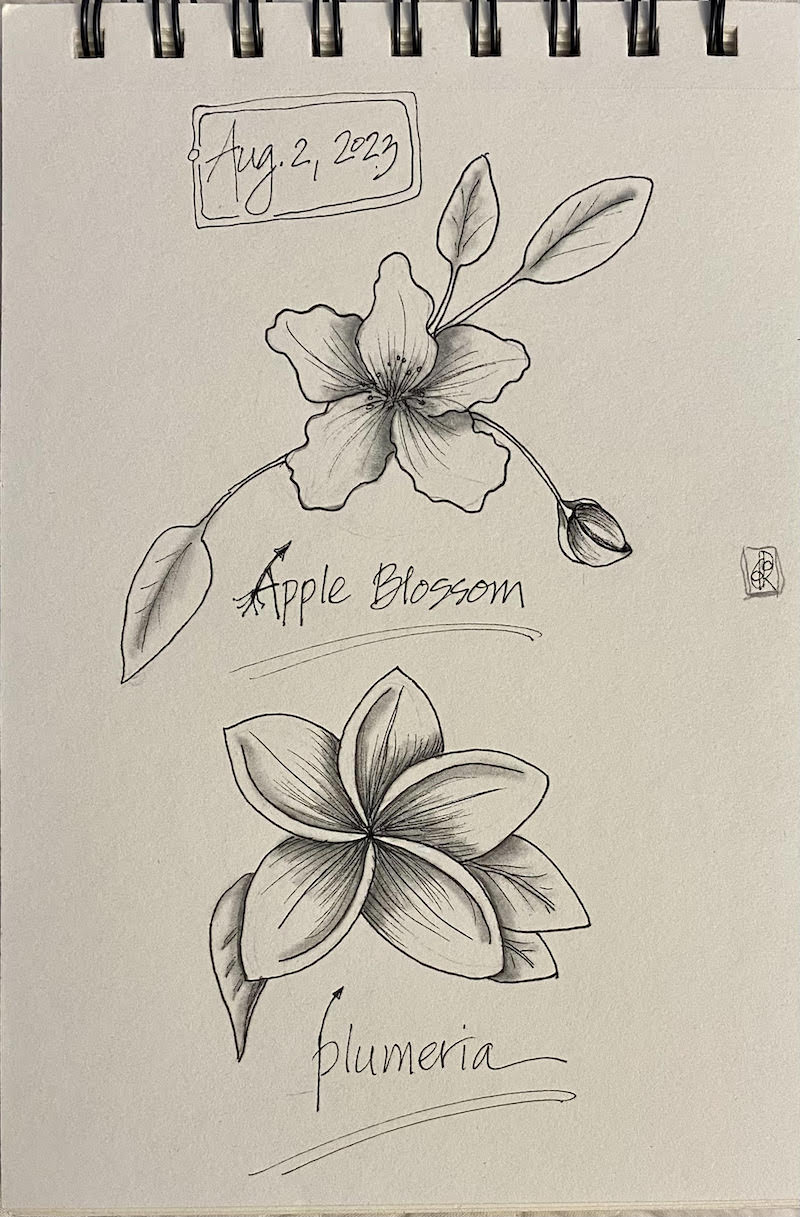
Here's a page from my sketchbook showing some practice at drawing flowers. Kelly Barone of Whimsy by Kelly has a lovely free video series on FB on doing this. I think she began it last year but I'm just able to focus on it now. It was fun to try.
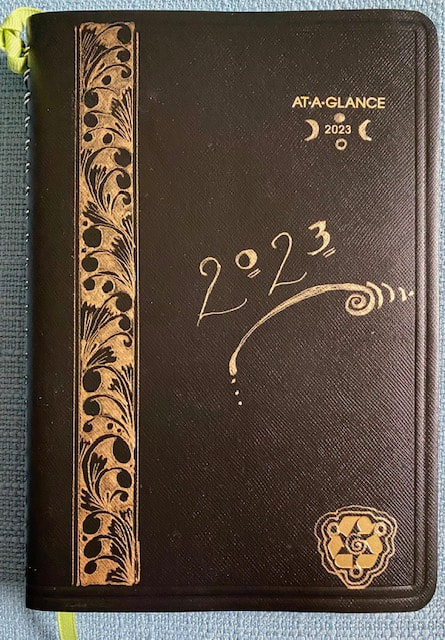
Below you can see all the stages, from line drawing to shading to this result directly below. 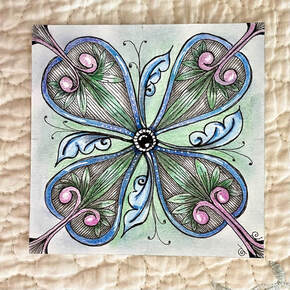 Tangles: a variation of Hollyhock by Jason Lau CZT (variation partially by Annie Reiser CZT and then I added my own take) and ICanToo by Hanny Waldburger CZT. Strathmore paper with graphite and chalk pencils. Tangles: a variation of Hollyhock by Jason Lau CZT (variation partially by Annie Reiser CZT and then I added my own take) and ICanToo by Hanny Waldburger CZT. Strathmore paper with graphite and chalk pencils. It's curious, the parallels I often see between meditation and drawing. In meditation, we might call what happened here, "striving." That is such a common issue in meditation--the idea that one has to get somewhere and work harder and harder to get there. It truly doesn't help. At all. And here in this drawing I did the equivalent. I was using a smooth tile and chalk pencils. The paper, surprisingly, wasn't loving the chalk. It was the combination of the two, not something I could control. But I kept thinking if I continued working, or rather, OVERworking (a form of striving), I could make it better. Well, uh-uh. Instead, it just got muddier. It would have been better if I'd used colored pencils rather than chalk pencils. I realized this at the start of the tile but was having too much fun to make the switch. I like it anyway because it was fun and involved one brand-new tangle and one that I forget to use. I often say this about the drawings i am not enamored of, right after I finish. Sometimes when I look at them later, I really do like them. Often, in fact. And sometimes I don't. But the reasons I'm happy anyway are: 1) just the act of drawing brings joy to me; and 2) learning art--and I most certainly am a learner--is all about quantity. Practice, practice, practice. As I said in my last post, any practice, even practice that produces something "meh," is bound to build skill. Bring it on. 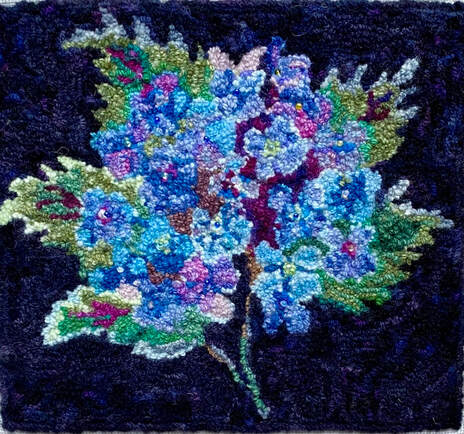 Hydrangea with beads, 2023. 10"x11.25", wool on monks cloth. Punched with a #14 fine Oxford needle during a two-day workshop. Hydrangea with beads, 2023. 10"x11.25", wool on monks cloth. Punched with a #14 fine Oxford needle during a two-day workshop. This was a terrific learning project! I did so many things wrong, and learned a ton in the process. I won't list them all but I can see them and you probably can as well. I value the piece anyway, precisely because it shows me what I learned. I was at the Oxford Rug Hooking School in VT a couple of weeks ago for a fine shading workshop with the fabulous Judith Hotchkiss who came to us from Maine. Her unique hand-dyed wools were so much fun to work with. The pattern is Judith's own. I added the beads (which aren't particularly visible in this photo). At some future point I'm inspired to try more fine shading, but I have several other projects lined up first. In fact I may even try another hydrangea, and prove to myself how much I learned by doing this one. We had a great time! 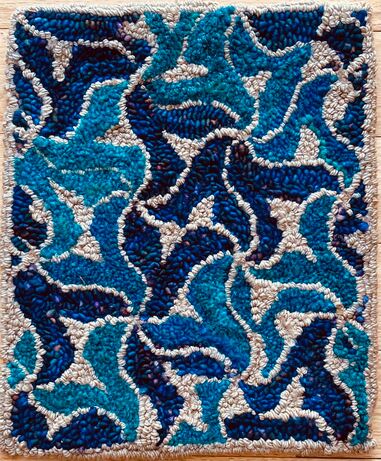 It's 10.75 x 13.5 inches; punched with a #10 Oxford Punch Needle using Malabrigo Chunky (the dark blue, a single ply hand-dyed variegated 100% wool yarn), Creative Mélange Chunky yarn (the lighter blues, 53% wool and 47% acrylic) and Valley Yarns Haydenville Bullky yarn (the gold yarn, 60% superwash merino and 40% acrylic). The superwash and both acrylics were slippery to punch but I was able to make it work. It's 10.75 x 13.5 inches; punched with a #10 Oxford Punch Needle using Malabrigo Chunky (the dark blue, a single ply hand-dyed variegated 100% wool yarn), Creative Mélange Chunky yarn (the lighter blues, 53% wool and 47% acrylic) and Valley Yarns Haydenville Bullky yarn (the gold yarn, 60% superwash merino and 40% acrylic). The superwash and both acrylics were slippery to punch but I was able to make it work. This is my latest experimental departure from Pearl K. McGown's "Duncan" pattern. First I took the classic pattern, made a tesselated version, and then drew in randomly-located triangles inside each tesselation piece to create something different. So it's both tesselated and triangled. Some cursing was involved. But by my standards, not too bad. What is it about cursing that makes things easier? A few choice swear words are good for the soul. "There ought to be a room in every house to swear in. It's dangerous to have to repress an emotion like that." --Mark Twain 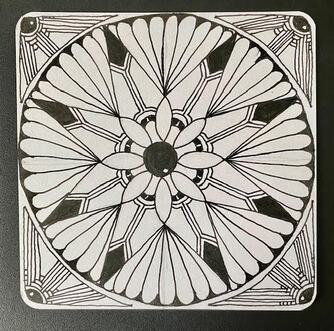 Tangles are: a Bales variation, Crescent Moon, a Sistar variation, Flux, and Arukas. Tangles are: a Bales variation, Crescent Moon, a Sistar variation, Flux, and Arukas. This is only the finished linework for a Zentangle®-inspired piece; I will be adding the color for it, hopefully later today or tomorrow. If you'd like to try this yourself, it's called "Circus Star" and is free on The Tangled Yogi's YouTube channel. She has an especially lovely meditation at the start of this one, using video footage from a morning walk she took near a lake in California. AND NOW, IN THE "BEGINNER'S MIND" CATEGORY: 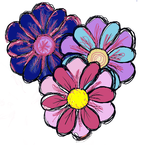 Last Tuesday I was lucky enough to take a digital design workshop with Lucy Richard from Wooly Soul Strings, called "Sketchbook for Hookers." (that would be RUG hookers, people, not the other kind.) I've been wanting to learn digital art for years now but haven't had time, and I could tell that Lucy's workshop on the Sketchbook app (simpler than Procreate) would teach me the basic concepts. This was a fabulous workshop and very much a lesson in Beginner's Mind. Talk about FLAILING AROUND. It was a humbling and hilarious experience. Fortunately Lucy is the soul of patience--I'm not kidding about this--and guided us through our bouts of flailing to success. Or, what constitutes "success" for an abject beginner. Here's what i was able to produce. Yes, it is indeed hideous. But it's my hideous, and I'm proud of it. I can only get better. Right? It helped to use a couple of mantras throughout: "It's ok, I've never done this before," or "I'm just learning." And so I'll practice. Begin again, begin again, begin again. Just like meditation. I loved this workshop. Thanks, Lucy! The design possibilities are endless. A major principle in Zentangle® is captured by the phrase, "No mistakes." Meaning, even if you do something "wrong," there's always a creative opportunity to explore and you may come out with something even better. So far, despite being obsessed with the tangle below, I get it "wrong" every single time. And yet, it always looks good anyway (to me at least). I drew it on my 2023 calendar; it's "wrong" again, and I still love it. I was forced to work around the error(s) but ended up with a cover design I will enjoy viewing anyway this year. In the process, though, I believe I have finally figured out the last piece of what I need to change, although I haven't tried it yet. Likely I'll continue to be obsessed by this tangle for some time to come! No mistakes, no mistakes, no mistakes.
It's been over ten years since I went to my first official Zentangle® class. I've never been able to locate my actual tiles from that class (as you can imagine if you read this blog, I've got zillions of completed tiles) and believed I had lost them years ago. Why should I care? Because occasionally, other tanglers will post "Here's my first Zentangle ever! And here is what I'm drawing now for contrast," and I always enjoy seeing the effect of their practice. Practice makes SUCH a difference! I've always wished I could find my first tile to view the effect of my own practice. Then this morning I followed some clues that led me to look in my photo collection from 2012. And yay! I found photos of my first two tiles from my first "official" instruction by a CZT. Unfortunately I cannot remember her name, and I don't think she's teaching any more. I would like to thank her but don't know how. We did 2 tiles in that class, which I remember as only about 2 hours long. I do remember rushing to keep up. But she got in all the basic tangles (Crescent Moon, Hollibaugh, N'Zepple, Tipple and a few others). Perhaps "speed tangling" was not the best way for her to teach, but I got the idea, including the principles, and took off from there. Without further adieu, here they are--tangles from my very first one in 2012 to 2020, eight years after I learned. The progression is obvious.
Proof that anyone can do this.
As always, I'm struck with the parallels between tangling and meditation. Practice is practice, no matter where it's applied, and it always improves things. We may not be able to see it minute to minute, but observing month after month and year after year, the difference is huge. “Painting is a means of self-enlightenment.” --John Olsen 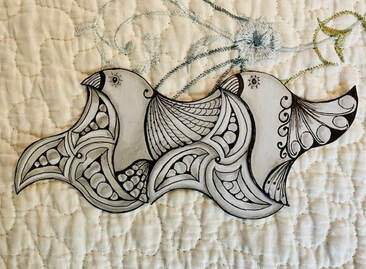 Just an amazing class from Lynn Mead of The Tangled Mind today--a benefit for children in Ukraine. I loved every minute of the class. Lots of discussion about MC Escher (of course), but also excellent teaching and plenty of time to tangle. Done on gray cardstock with a black Micron 05 and graphite pencil with some white chalk pencil for highlights. This was very much in the "quick and dirty" mode. Fun! |
ABOUT ME I'm a textile artist (traditional rug hooking, punch needle rug hooking, and other textile arts), a long-time meditator, a certified meditation teacher and coach, and focused on learning about the interplay of art, creativity, and mindfulness every day. Certified Unified Mindfulness Coach
Categories
All
Archives
July 2024
|





 RSS Feed
