|
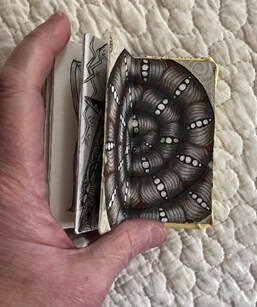
Yesterday I managed to get it together enough to create ONE full-sized tile Bitty BookZ™ which you can see below. I experimented with some new untested techniques which might mean that the book will fall apart eventually. But right now, it's ok.
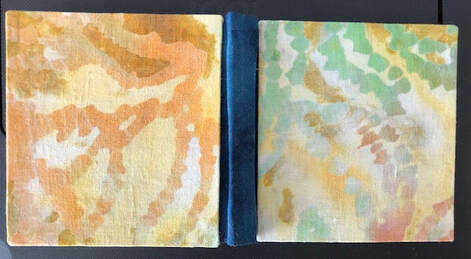
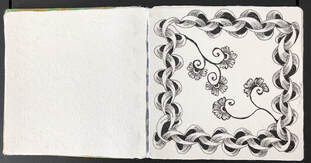
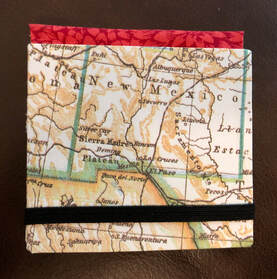
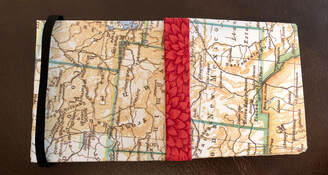
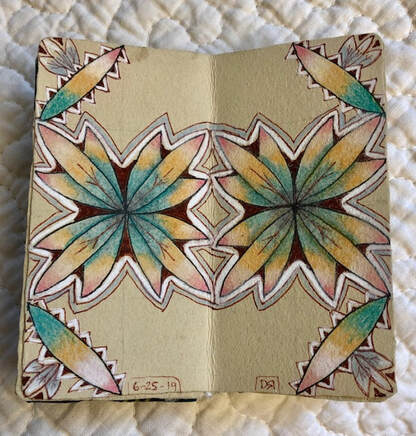
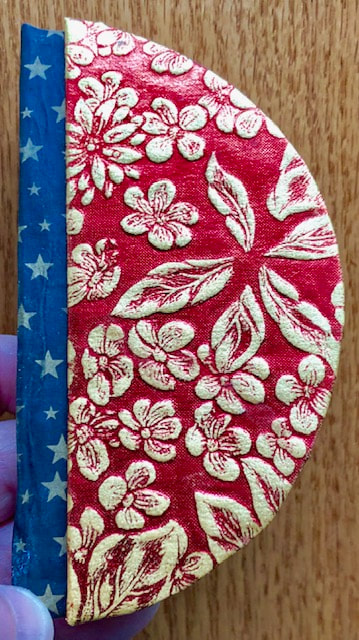
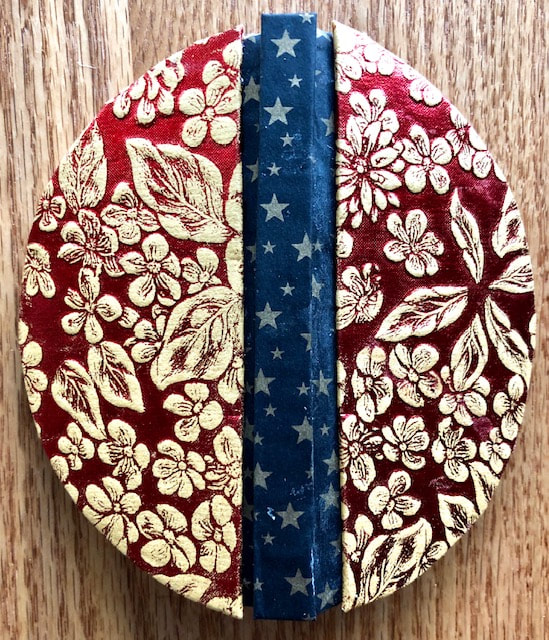
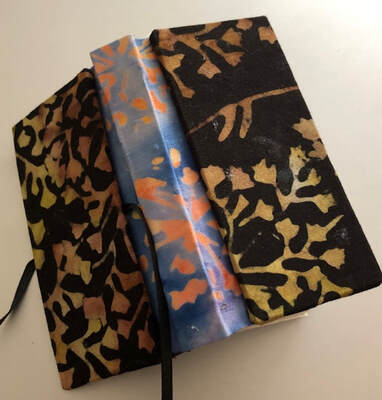
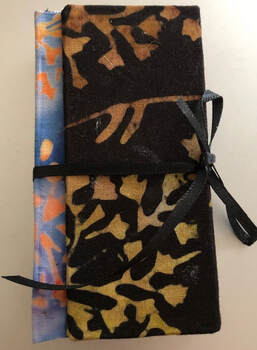
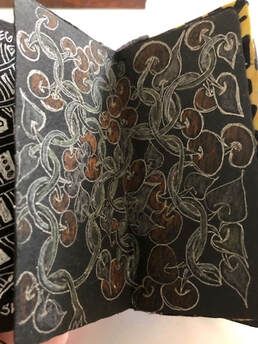
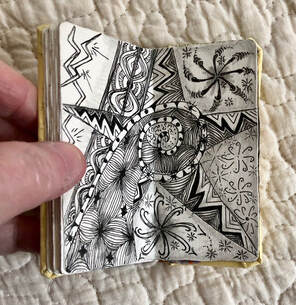
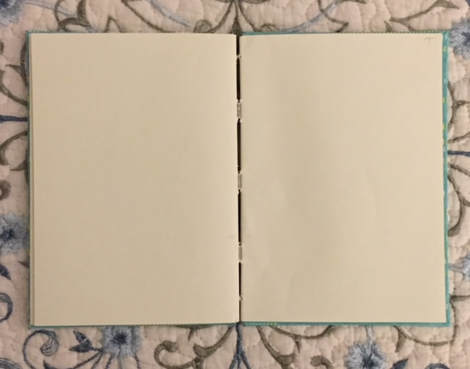
Just below is the back cover on the left, the dark blue spine, and the front cover on the right; you can see how flat the book is when lying on the counter. Below that is the book opened to the only page that has a completed tangle on it. All the other pages are blank. This should be fun to work in. I'm glad I managed to get enough mojo back to create SOMETHING after days and days of nothingness. I finally tackled making a full-sized tile version of Bitty BookZ™ today. It isn't perfect by any stretch of the word but - as usual - it's "good enough" for my first one and I learned what to do and what not to do for the next one. I'm liking this full-sized version. All the interior pages of this are tangled already because I used my "Teaching Tiles," (tiles I've created when preparing to teach a class) and some of my earliest tiles from back when I first learned. This is a great way to store previously tangled tiles.
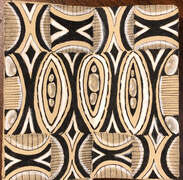
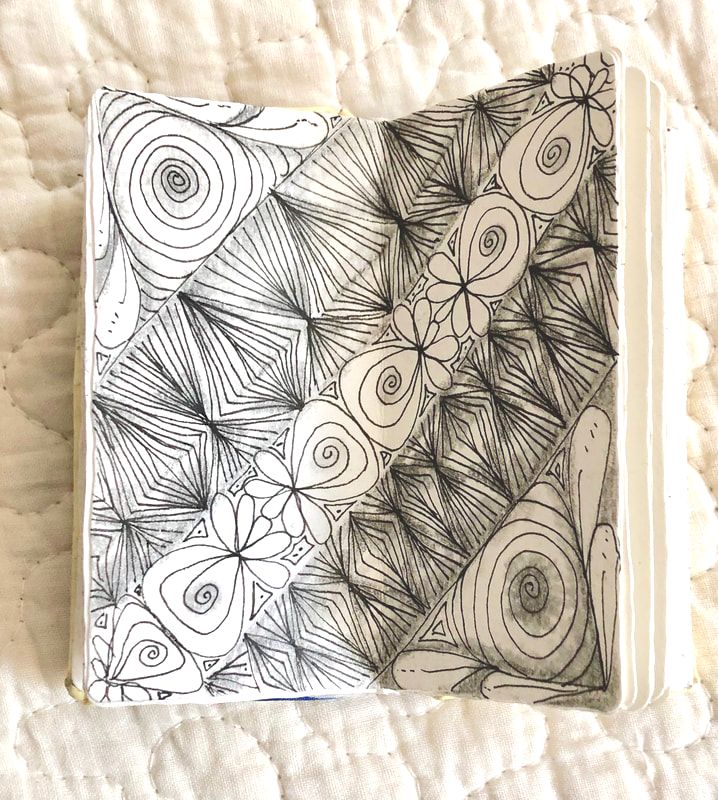
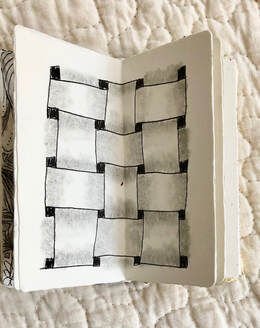
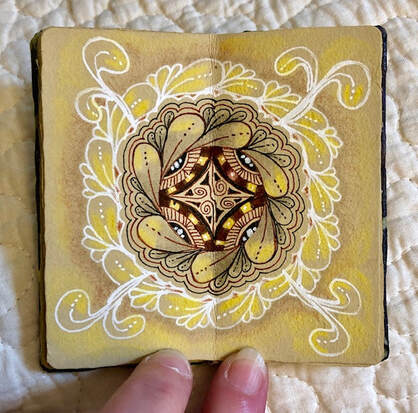 Tangle is Cirque, but doubled, and I added a few more things to it, like some Mooka and a spinoff of Crescent Moon. Used black & brown micron 01s, graphite, white gellyroll, general's chalk pencil, and a very small amount of Prismacolor. This tile is inside one of my first BittyBookZ™. See posts in June for info about those. Gawd, what a week. I needed something round and sunny today so I made the above tangle on some pages in one of my recent handmade books. Today is the first day I feel like myself in over a week. I had a medical test that went wrong. Nothing dangerous, but it's quite impressive how bad one can feel when something is seriously "off" but not dangerous. I have had zero, and I do mean zero, motivation to do anything for days and days. Hurrah for feeling better! Last week in the middle of my woes I had a bout of insomnia, and that's when I did the tile just beneath this. I was still trying to work on grid-based tangles, which are not my preference. The combo of "not my preference" and "feeling really crappy" added up to what you see below. [Late last week] Oh, how my mood is matching the feeling of being "gridlocked," like the tangles I have been working on. I've been pretty sick this week, unexpectedly. Nothing that won't improve, but the improvement is slow. I've discovered--no surprise--that I suck as an invalid. I'm not good at sitting around. There are things I want to be doing that are physical, and I'm just not up to doing them yet. Frustrating. Insomnia last night led to another grid-based tangle, C-Stem by Agneta Landeson. I've never tried it before: I'm not crazy about how it came out but at least the process did enable me to go to sleep.
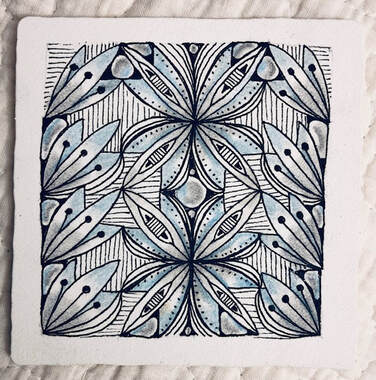
Grid-based tangles are not always my favorite type to draw, so I want to practice them more to see what I think and explore that resistance. The tangle below is called "Krokus" but I added so much to it that it's almost hard to recognize. I'm not sure but I don't think I've drawn it before. And now the same tangle, but presented differently below. The grid isn't so obvious in this one. You can see the pencil lines (the "string") if you look, however. I was so pleased at how easy it was to tangle with the tile actually part of a book. While I've been making books at the rate that some of us eat potato chips (you can't stop at just one), I hadn't tangled in any of them yet.
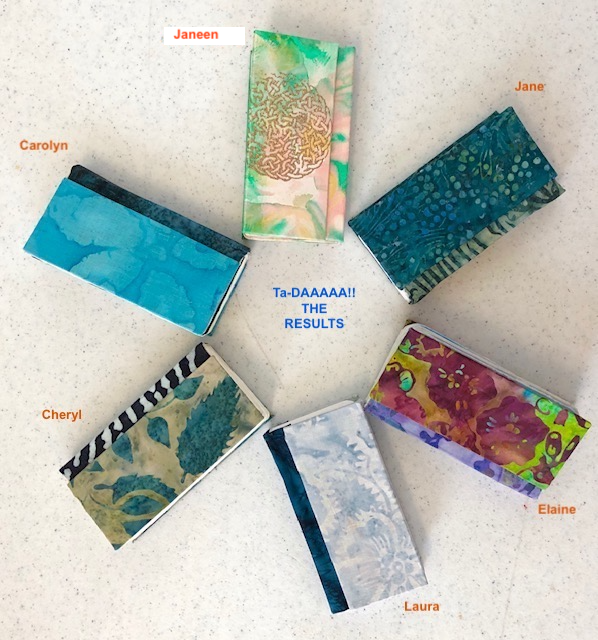
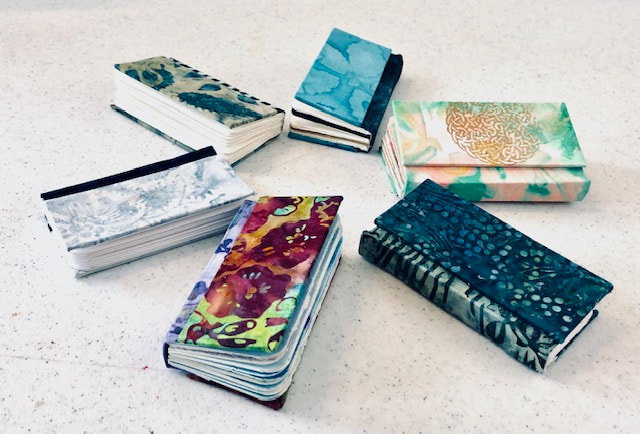
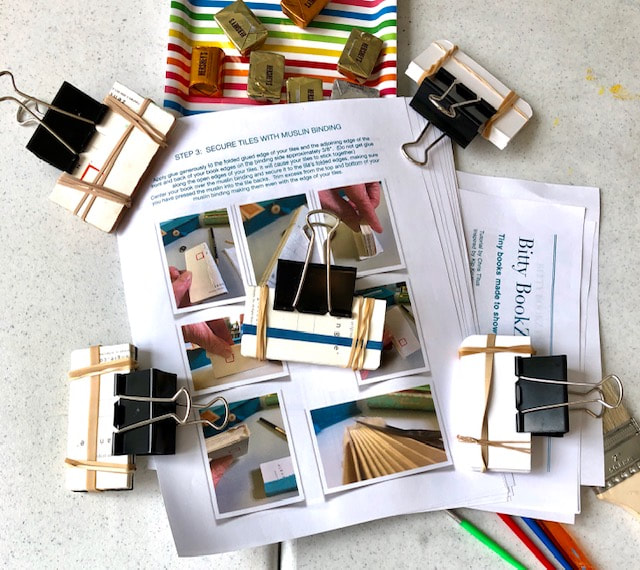
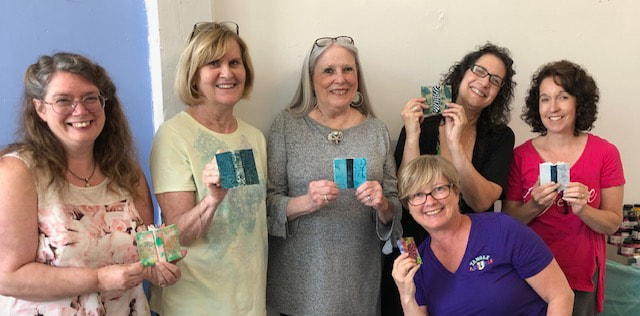
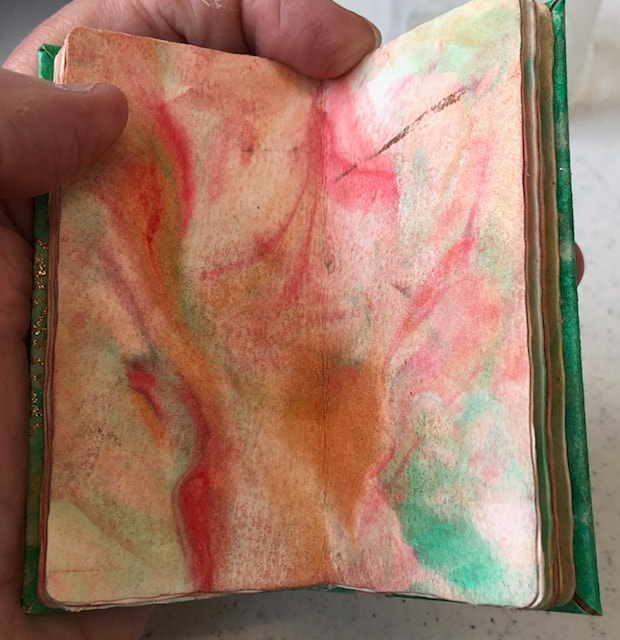
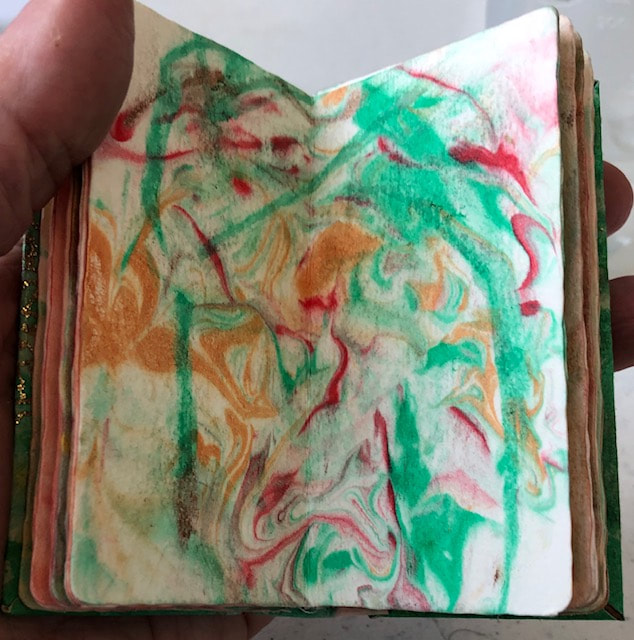
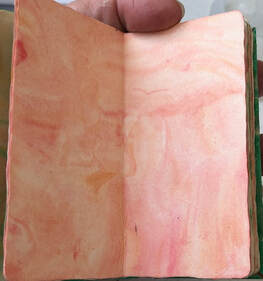
Actually, make that utter shock. I went to Elaine Huffman's studio today for a "Bitty BookZ™ maker event," thinking I would pick up a lot of tips from those more experienced. Imagine my surprise when I discovered none of the other 5 participants had ever made a bitty book. I was even more surprised to end up in the role of teacher for this group. Without any planning or rehearsal. ("Planning" and "Rehearsal" are my two middle names.) Elaine could have taught the class--but she gave us her studio for the day plus fabrics and all the other supplies...and while we worked, she was madly cutting things for us in the background. Without Elaine, none of this would have happened. So what did happen? This: And below is a view from the side, so that you can see them slightly open: See below for a couple of pictures of the books as they move thru the stages of creation: And yes, those are chocolates at the top of the photo. Surprisingly, people were so absorbed that I never saw anyone eat one... On to the next stage:  Nearly finished books on the windowsill in the studio, clamped & "elastic-ed" in order to dry. Nearly finished books on the windowsill in the studio, clamped & "elastic-ed" in order to dry. And here below we have the entire group after their books were dry and we got to un-clamp and un-elastic them. From left to right are: Janeen, Jane, Carolyn, Cheryl, Laura, and the scamp at the bottom in the violet shirt is Elaine herself. Elaine deserves huge applause for enabling this to happen. Interested? If you'd like to try it yourself, you can get Chris Titus's very helpful pdf describing what supplies are needed and how to do these from start to finish. Click HERE to get the pdf ($10 US funds...well worth it). You really CAN do this without a class, just from the pdf. Take it slow, expect some mistakes along the way, and don't expect perfection from your first one. But by the time you make the 2nd one, not only will it go faster, but you'll have it totally figured out. Meanwhile, Janeen (a Certified Zentangle Teacher from Seminar 3!!!) filled her Bitty Book with ten of her own paper pages which she had made using the ever-popular "Shaving Cream" method of coloring and marbleizing the paper. It's all over YouTube--just type in shaving cream + paper. Here are a few of her tiles (now inside her beautiful book): Janeen had a funny story about wanting to show her grandson how to color papers with the Shaving Cream method. Except, her grandson had been doing it for years in his school and HE ended up giving HER tips and hints.
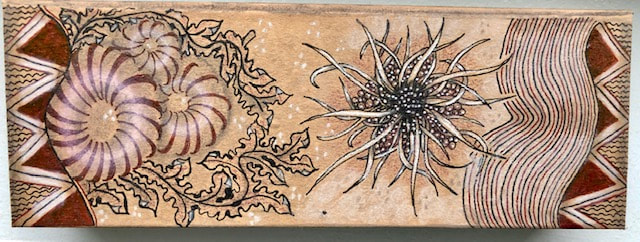
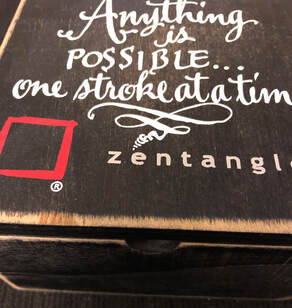
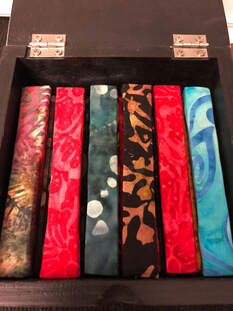
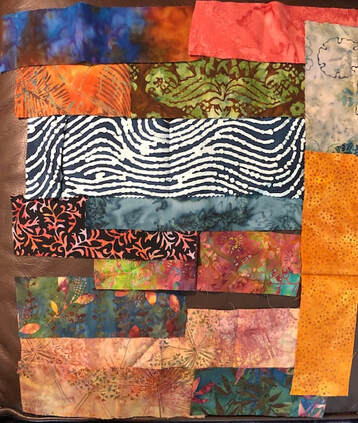
Of course, you can use plain white or black or tan tiles for your own book, or you can take your already-completed tiles (ones you've already tangled) and use those for your pages. The possibilities are endless. There is a Facebook page for BittyBookZ (oriented towards people who do Zentangle®); it's a closed group but you can ask to join if you want to join the fun. The top of the 6-sided box I've been working on is finally tangled, and I've sprayed the entire thing with fixative. All that's left is to add a button for closure. Here's the top. I went outdoors after dark last night and was mesmerized by the bountiful fireflies everywhere in my front yard. Although I hadn't meant to, I stayed for over half an hour watching them as they danced in the dark. So very lovely. In their honor I added some white dots in the background on the top of the box, and also some dark dots on the right side of the top which is lighter in color. To view a quick, lovely video on fireflies dancing, go HERE. Don't miss it. The box, which really isn't that big (perhaps 8" x 1"?) took forever to tangle as I worked my way along all 6 sides. The paper actively resisted the ink, and it was awkward to tangle because of the shape. But I think it will be quite functional as soon as I add that button. I won't be making another one soon, however. *** Yesterday must have been a good day for me as I also finished a Bitty BookZ™ version for Zendalas (see the last few posts for the link to more information on Bitty BookZ). Here is the final result on that. I'm quite pleased. “Catch fireflies in flight, crinkle grass under your toes and know that you are always beloved always beautiful .... a dream within a dream.” Oh, I am having way too much fun making these. I've made seven in the last two days. Fortunately I'll be busy with other obligations the rest of the week and am forced to stop. Here are the books with covers opened and spines exposed. When fully opened, they're completely flat and should be very easy to tangle on. I can't wait to try. Someone online pointed out that these Bitty BookZ™ fit well in the old (no longer available) wooden box with the Zentangle® motto on the front. I've never known what to do with this box but this answers the question. I love it as a storage container. 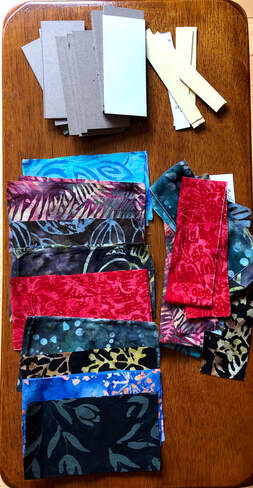 And finally, this was some of the pre-book binding preparation mess. All cleaned up now, thank goodness. I'm not the only one obsessed with this, but wow, it took over my life this week! "It is surely a great calamity for a human being to have no obsessions." --Robert Bly Just what I need. Another hobby. Oh sure. The only way I can justify this one is to say that I'm surprised at how well these things actually show off Zentangle® tiles. Or would if I ever got good at making them. Today's version was so badly bungled that I won't even go into the story, but it turned out sort of ok. I made the most of what started out as a "right-royal mess," as my friend Vivienne used to say. Not only that, but a bunch of cotton quilt scraps arrived in the mail from my kind friend Elaine J. Huffman. Free! And mostly gorgeous batiks. She is clearly enabling this addiction. Thank you Elaine...I have 4 more books in the works already, thanks to your gift. Clearly it pays to know a talented quilter. See below.
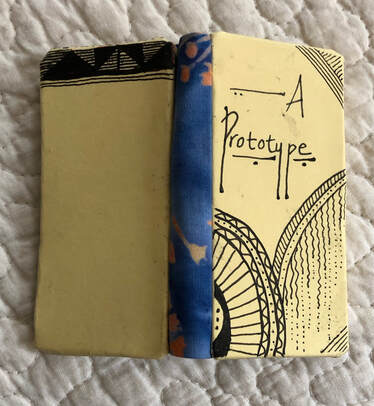 My first "BittyBook," complete with some pretty major errors. Still cute though. My first "BittyBook," complete with some pretty major errors. Still cute though. On the left here is my hilariously inept first attempt at making a "Bitty BookZ™," a tiny book of Zentangle® tiles, invented by Chris Titus, CZT. Trust me, these can be truly gorgeous. But not this one! Chris doesn't have a website so I can't link you to her beautiful work with her own Bitty BookZ™. My aim was to learn the process today, nothing more. The point was to build one prototype in which to make all the errors I was sure I would make, and then from here on I can actually create some nicer books. I hope. These Bitty BookZs are created with ten 3.5" tiles, so I started by picking out ten of my very earliest tiles from years ago when I was first learning to tangle. These are tiles that show where I was when I was learning, and some of them are...shall we say...uninspired. But it's always great to have my own early tiles to show students when I teach. So I used almost all old tiles for the prototype. See below to see the tiles in their new roles as pages in my finished book. For some reason I was really apprehensive about trying this. And I did make some hilarious errors. For example, when I glued the paper on the front cover I got glue on the "right side," and then I had to do some tangling over it to cover up the worst of the mess. It's still a mess in some of the blank spaces on the cover, just look. But the cover paper on the back side was the worst mistake--I didn't look at it before applying glue, and discovered to my horror that I had glued all over the right side and therefore exposed the wrong side, which had commercial printing on it. But...in true "There are no mistakes" Zentangle fashion, I tangled across the top to cover up the printing. That's why there's an odd dark horizontal strip across the top of the back cover. And then there was the cover-paper in general--I used card-stock for the covers. Whoa, never again! Too stiff. What was I thinking? Fortunately I have thin decorative papers and lots of fabric scraps for the next Bitty BookZs I make, which should render the entire process so much easier. Live and learn. All in all, I'm glad I worked up the nerve to try this on my own. "My mistakes are my life." --Samuel Beckett  By which I mean to say, this is simply a sketchy practice piece for a free-form, unplanned knot. I have "knot" been practicing. Although my holidays were quiet-by-design, my last two weeks have been non-stop guests. Wonderful guests and I was thrilled to have them. But I haven't had the headspace to draw, tangle, or write and am feeling rusty. Looking forward to starting up again. Ahhhh! BOOKBINDING Again: I did manage to sneak away for one day, last Sunday, in order to take a beginning bookbinder class with Peter Cangialosi. He's an excellent teacher and I completely enjoyed myself. Even more impressive: every student (5 of us) left with a handmade bound book. Here's mine: This is a very small book, but it is a book. I am delighted. January is apparently "bookbinding" time someplace in my mind. Last year on MLK weekend I did (and blogged about) a prior workshop on bookbinding with Nancy Shepherd in Vermont. We took the whole weekend and began by learning to make paper for the covers; then we used a more sophisticated open binding than the one I learned last Sunday. However, the day after that 2017 workshop with Nancy I formally "closed" on (legally bought) my new house. ALL the info I had acquired from her flew right out of my head as I entered the whirlwind of finalizing the sale, packing up my apartment of 40 years, and relocating. What was special about Sunday's workshop was that it was one day and much simpler...but it jump-started my memories of a year ago and I began to recall what I had learned in the more complex 2017 workshop with Nancy. I have progressed from not being able to retrieve anything I learned from her, to remembering at least 90% of it, and I am confident that I can recover the rest. Hurrah! Thank you, Peter. In Peter's beginner's workshop, everyone finished wonderful books. Many were prettier than mine. He kept things super-simple and was endlessly patient with our million questions. Here is a slideshow of all five completed books. I can't wait to try my hand at this again. I look forward to being able to make my own sketchbooks.  Two additional views of my book. You can see the simple exposed smyth stitch binding in the photo to the left, and in view below you can see how flat it lies when open. If I use better quality paper for my next book, it would be perfect for sketching. Uh-oh, there may be yet another obsession coming on... I've been in caught in a maelstrom of activity: First spending time with my Woolies, then driving out of state to attend an amazing workshop, then home to officially close on the condo. I am now a home owner. Gulp. I've been packing like a crazy woman, loading up the car, and driving across the state and back several times. I'm completely immersed in the early stages of the mess of moving. But I'm getting ahead of myself... First there was the Wooly Bully meeting the Friday before Martin Luther King weekend. Here are some shots of the rugs we've been working on: Then on Saturday of Martin Luther King day weekend, I drove to Vermont to take a paste-paper journal workshop with Nancy Shepherd. It was not an good time for me to be doing this, given the messy transition I'm in, but I had signed up for it several months in advance--before I knew what the future held. More importantly, I had been wanting to take this workshop for about 20 years (seriously), after my friend Georg made many such journals and gave me several. Here is a photo of all the journals produced by the students over this three-day workshop: 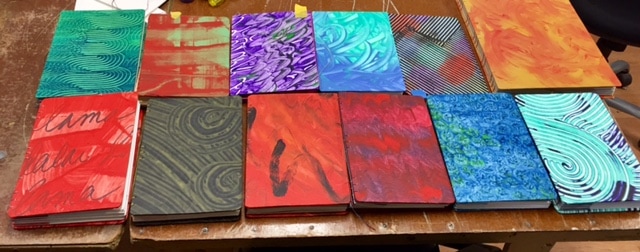 COLLECTION OF JOURNALS BY THE FULL CLASS. MINE ARE IN THE BOTTOM ROW, FAR LEFT (FIRST 2 ON THE FAR LEFT) COLLECTION OF JOURNALS BY THE FULL CLASS. MINE ARE IN THE BOTTOM ROW, FAR LEFT (FIRST 2 ON THE FAR LEFT) H Below are all the paste papers I made on the first day of the workshop. They are laid out on newspaper to dry. I wish I'd had a chance to photograph everyone's papers, but I was only able to snap my own. Here are the front covers of the journals I made, and their bindings: I have to say I was thrilled beyond belief to learn how to do this. My only wish is that had the time now to practice with all the other papers I created. But that will have to wait until after I move and unpack--so the earliest that I'll be getting back to this will be summer. Phooey. Not only that, but I don't have room to store the new papers because I'm packing everything up; I had to store all of them in my hosts' house in Vermont. This would be a good time to say a hearty thank-you to my two kind and talented hosts, Sadelle and Ann. Not only did they put me up (or more accurately, "put up with me" !!) but they went way above and beyond with great conversation and excellent home cooking. "Num num num," as Cookie Monster would say. And then there were the Sweetie-Pie Doggie, the Cat Who Must Be Obeyed, and the Shy Timid Kitty, who were really lovely. Thank you Sadelle and Ann for making this possible. But wait, there's more... Coming back from Vermont, I drove to the condo for a pre-purchase walk-through, then drove back to Boston. The following day I signed all the final papers to officially buy it. 24 hours later, I left Boston and drove back to the condo and stayed for two nights. Then back here for a couple of days, then out there again for two more nights. Taking stuff with me each trip...lots of packing, hauling, moving. I'm exhausted and feel like a ping-pong ball. I'm sure it will all be worth it, but this is not easy. Here are some views: Oh, and in between all this, two wonderful signs somehow sneaked into this post. The first is my favorite sign from the women's march: Next I saw this sign (below) in front of my friend Elizabeth's store, and promptly went online HERE and ordered my own copy to download. That's my (current) story, and I'm sticking to it.
All I can say is, thank goodness for meditation. I need a vacation. |
ABOUT ME I'm a textile artist (traditional rug hooking, punch needle rug hooking, and other textile arts), a long-time meditator, a certified meditation teacher and coach, and focused on learning about the interplay of art, creativity, and mindfulness every day. Certified Unified Mindfulness Coach
Categories
All
Archives
July 2024
|








 RSS Feed
