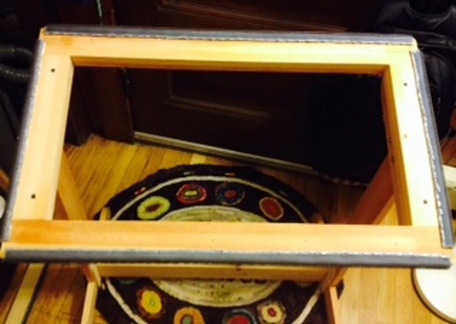
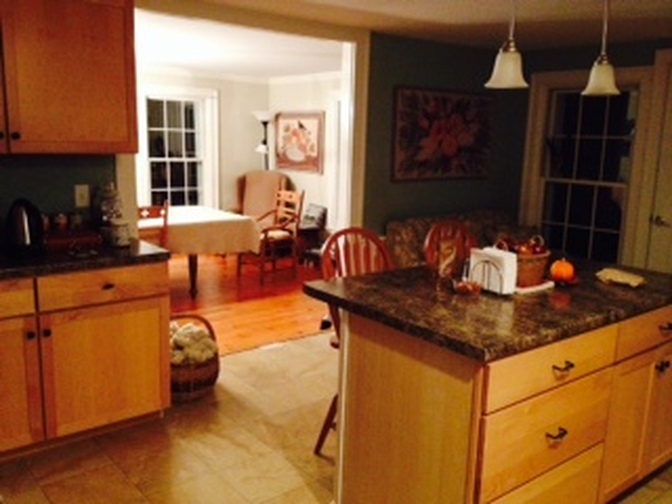
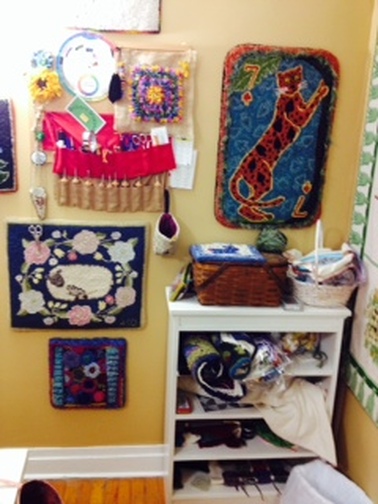
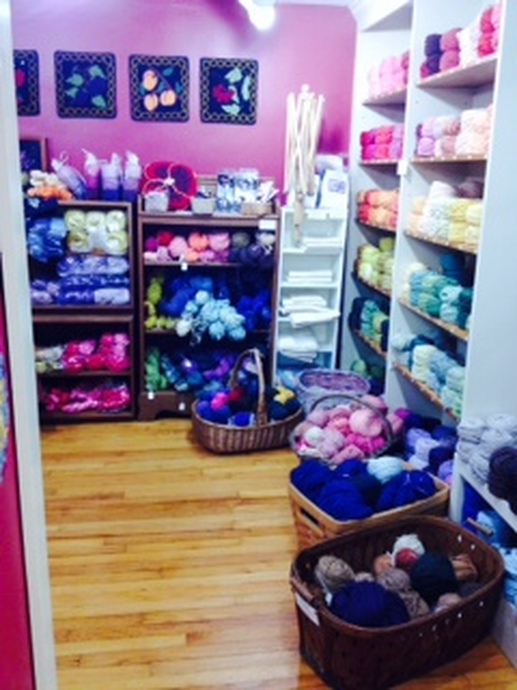
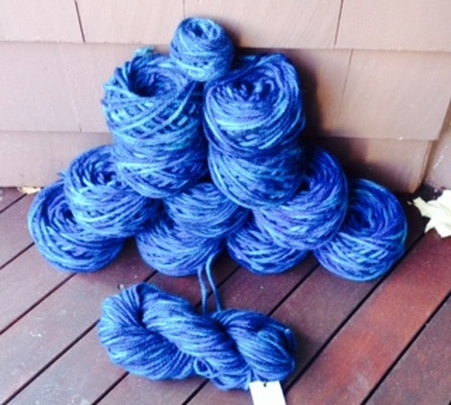
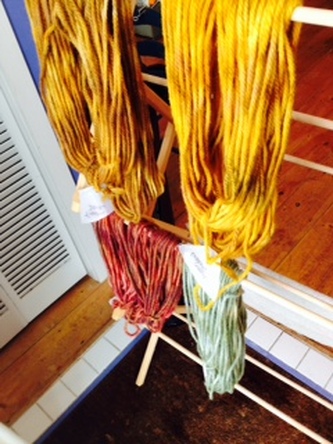
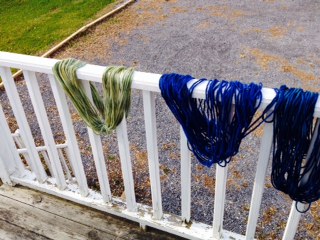
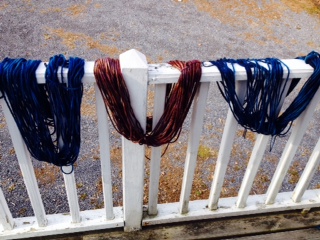
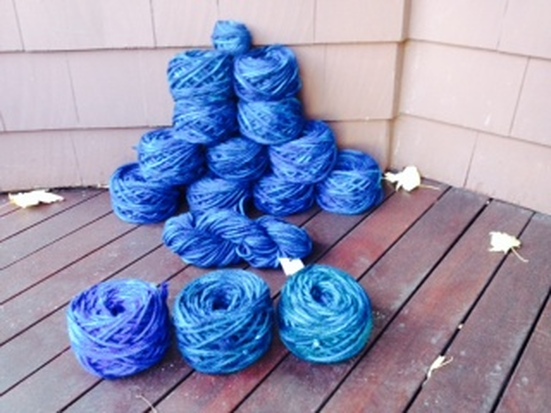
 How to write about something that cannot be disclosed for months? That's the dilemma. The rug I am about to begin can't be photographed or discussed until after it appears in a show scheduled to open in the autumn of 2015 in Vermont. I cannot even say what it's about, since it's going to be on a particular theme, and the show's creators have asked us not to disclose the theme. I get it. But still, how to even address the fact that I am indeed hooking? Or punching...since I plan to do both on this temporarily "secret" rug. I've been prepping for this project for months, literally, since I agreed to do it last August. I immediately regretted saying yes after I was invited to participate, since the proportions are larger than I normally work, and since it has a deadline for completion (6/30/15) and I am notoriously slow. I really was kicking myself for agreeing to do the rug. But lately I've begun to see the benefits. Despite all my kvetching, doing this work will stretch me in ways I haven't had to stretch before, and that's wonderful for any artist. Realization about this began to dawn when I understood that I would need a different type of frame to punch and hook on. My small hooking frames, wouldn't work, and my mid-size punch hooking frame was also too small and not on a stand. As the rug grows heavier, I'll need the frame to be on a stand. Sooooo...I hauled out my old DeGraff frame, that had tacking strips on it, and decided to convert it to gripper strips. Here it is, completed ----> OMG, what a process to tackle solo. Off came the old tacking strips; that part was easy! But can I just say that glueing and stapling the gripper strips to the sides, while making sure they curve over the sides, is not a job for one person? I desperately needed someone to hold the strips down against the wet glue while I stapled madly. Stubbornness rose to the fore, and despite shredding my hands, I got it done. Alone. Of course it required a bit of staple-removal and re-stapling the following day, but as I said, I got it done. So proud of myself. And yes, underneath the stand in the photo, on the floor, is one of my old rugs. Then there was the designing. Around and around I went. The less said about that process the better...I can say, however, that meditation was a big help with the process. Every time I sat down to meditate, some other idea for the design would come to mind. Finally I had something to settle on...but that's how it felt...like I was "settling." But then, a couple of days later in another meditation, inspiration hit and I got an idea for how to turn the design into something really wonderful, based on the show's theme. And just like that, I was off and running. I love meditation. But now...what to work with--wool fabric or yarn? I have a lot of both, but I need very specific colors for this project and none of the yarn was dyed. Then I remembered my upcoming workshop in Vermont. Ah, and here's where the process becomes even more inspired. Let me start with Vermont and a little of that famous Vermont Magic. What is it about Vermont??? Several months back, I had signed up for a yarn dyeing workshop at Amy Oxford's wonderful Oxford Rug School. Check out their brochure and photos--there's even a little video tour about the site, which is just gorgeous and so incredibly comfortable. And then, of course, there is Amy herself, one of the world's kindest and most patient people, and her talented school manager, Heidi Whipple, who was the teacher for the dyeing workshop. Honestly, at the time I signed up I didn't even know I'd be working on this rug. I just wanted to go back there because the place is so beautiful and I enjoyed being there the one time I had gone. But now, suddenly, I had the need to dye yarn. In the 1970's I had dyed a lot of yarn using natural dyes, and way back then the process was positively onerous. Since then, I've dyed wool fabric with ProChem Acid Dyes (so much easier), but not yarn. And dyeing yarn's a different process--or rather, the handling of the yarn is very different than handling fabric.. So off I went, a 4.5 hour drive one way because of the need to get over the mountains. Arrived on Friday and had a chance to use Amy's giant light box to finally get my entire pattern traced on the backing. Which I cannot show, darn it! The light box there made that task easy to accomplish; at home, I simply couldn't have done it without so much more effort. Since I cannot show the design, here are some pix of the inside of the school ...you get the idea. Basically, it's just gorgeous. And inspirational to the max. I had no idea how much fun I was about to have! The well-equipped dye kitchen is upstairs, as are the simple and lovely guestrooms. I was the only guest staying over that weekend, and it was bliss to be alone there at night. Saturday night I stayed up late dyeing yarn--but I am getting ahead of myself. Heidi was just a terrific teacher, and taught us how to dye variegated colors. Now, I know how to dye mottled yardage, but with yarn it's a whole other process, and the process she taught us was particularly effective. And the results! But again, I'm getting a bit ahead of myself. Class started on Saturday morning, and since I arrived there on Friday, I had the place to myself that night and spent a few hours in the store and classroom next to the store, laying out my newly-transferred pattern and trying various yarns for background and the motifs. There is a lot of background in this rug. I had planned to use wool yardage for that, but suddenly I found a wonderful variegated yarn called Deep Blue Sea, and I knew immediately that I wanted to dye all the background for the rug that weekend. So that's what I did. Ta-da...: 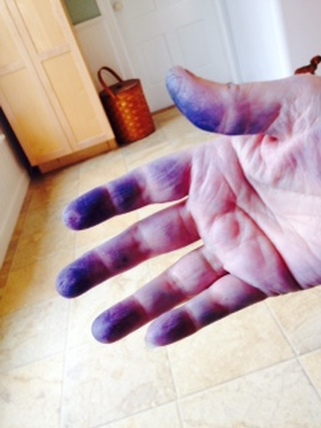 That's actually overexposed--it's a darker shade. But in front of the wound balls, you can see one skein; that skein is the original skein being sold in the store that I was trying to copy. I succeeded. What a great feeling! Each skein was individually dyed; there's no way to dye a quantity simultaneously. Gives me a new appreciation for the cost of hand-dyed yarn, for sure. There was only ONE drawback------> A big one! No one else's hands looked like this, but apparently I couldn't keep mine out of the dye and both hands had dark blue fingers and palms. No matter what I tried, it wouldn't wash off. It was also under my fingernails, and I had to attend a professional meeting on the Monday after the workshop. Uh-oh. I remembered that I had once used a hand cleaner that worked well, which I'd gotten from ProChem, but the school didn't have any on hand; they'd only just become aware of its existence. I'd last used mine in the late 80's or early 90's, and I didn't know if it might be still sitting in my long-unopened dye cabinet or not. And after all that time, even if I did have it, would it work? Well, to see the results, scroll down to the end of the post. Everyone else was trying out various colors during the weekend--here are some of their results. I so wanted to experiment with other colors, but I knew that in order to leave with all my background in hand, I needed to stick with dyeing one color. So hard to do when all these other luscious colors were being produced: There's no way to do justice to the beautiful colors others were making all weekend. We dyed from 9 a.m. on Saturday (Heidi got us started right off--we were all in the process by 9.45 or sooner) until people left for dinner. I kept right on going until about 8 pm when I realized I was starting to make mistakes. Here are the last skeins I dyed late on Saturday, and although I followed the process, they became "outliers." I love them but likely cannot use them in the rug. (The "outliers" are in the front bottom of the photo. Same dyes, same process, different results. Go figure, especially since all the other skeins came out exactly right.) Such an interesting process. I was lucky enough to be with three other talented women in the class; I enjoyed all of them. One of them has made 22 rugs already this year and is just doing the most incredible, whimsical, original rugs. The other two ladies are in Amy's Wednesday night weekly class and are also both experienced at punching. When I went to Vermont, I hadn't intended to punch quite so much of the rug, but by the time I was on my way home--delirious with success and staggeringly tired--I had decided to punch most of it. I'm just totally thrilled with my experience there and cannot wait to go back when I don't have background to dye and can spend a weekend dyeing lots of different colors. Heidi was a wonderful teacher and I feel confident that I can dye anything now. Arrived home with my heavily stained hands; went to my dye cabinet, which I haven't opened in 20 years. (Thank goodness dyes don't come with expiration dates.) Sure enough, there was my ancient ProChem hand cleaner, and when I opened it it appeared to be just as usable as the day I last closed the cap. So, I gave it a try: 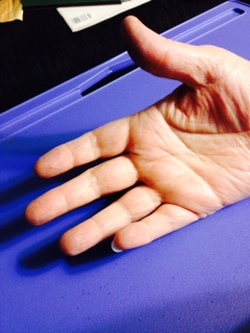 HURRAH! One application and 98% better. The photo is after one application. One more, and the dark blue was entirely gone. Thank goodness. The stuff worked like a charm. I've been home for a week now, and I'm just as jazzed up by the experience as I was when I was there. But...I haven't begun the rug yet, and I have everything I need now. The intimidation factor has set in temporarily. I have promised myself to begin it today or tomorrow, but first, there's one more post to write. Make something. It's so satisfying. Comments are closed.
|
ABOUT ME I'm a textile artist (traditional rug hooking, punch needle rug hooking, and other textile arts), a long-time meditator, a certified meditation teacher and coach, and focused on learning about the interplay of art, creativity, and mindfulness every day. Certified Unified Mindfulness Coach
Categories
All
Archives
July 2024
|



 RSS Feed
